
Getting started with hydroponics
In late February I began to educate myself on growing food indoors using hydroponics. After watching a few YouTube videos, I decided that I’d give it a try and have been very pleased with the results so far.
I started my journey towards hydroponics by deciding on which method I wanted to use. Because this was a first attempt, I wanted to start as simply as possible, so I decided to use the Kratky method.
Hydroponics works by growing plants directly in water without the need for soil as a medium. By adding nutrients to the water and a light source, the plants can get everything they need without every being planted. However, plants also need to absorb oxygen, and if you leave the roots in a nutrient solution, the plants will absorb all the oxygen in the solution, and then eventually die from lack of oxygen. Hydroponics setups traditionally gets around this by having an air pump that puts oxygen back in the water. But, since I wanted to be simple, I wanted to have a pump free setup. Thankfully, there is a way to create one.
The Kratky method is named after the author who popularised the method, and it is relatively new. It works similar to traditional hydroponics except that you don’t need the pump to aerate the hydroponics solution in your hydroponics basin. Instead, by suspending the plants in the solution with a pocket of air to between the net pot and the water, the plants will grow two types of roots - one type to get oxygen from the air pocket, and one type to get water and nutrients from the nutrient solution. And voila, no air pump needed!
Now that I had decided on my method, I needed to choose the kind of setup I wanted. I decided to make my own basin, since I figured I could make it cheaper and easier than if I bought it commercially. I made a basin out of a 50L tub that I got off of the internet, but it hasn’t been fit to my purpose. It would have been fine if I wanted to use the tub for one type of plant, but, since I want to grow a variety of plants, it didn’t work as intended.
Different plants need different kinds of light, different ph levels, and different nutrient solutions. They also grow at different rates, and therefore you often get some thirsty plants (like lettuce) that will reduce the overall level of your nutrient solution faster than the other plants are growing. That means that you might end up with a situation where some of your plants roots can’t reach the nutrients they need! And this will be bad. So, going forward, I plan on getting smaller basins for each crop, maybe just using some 5l buckets that I have lying around, which should do nicely.
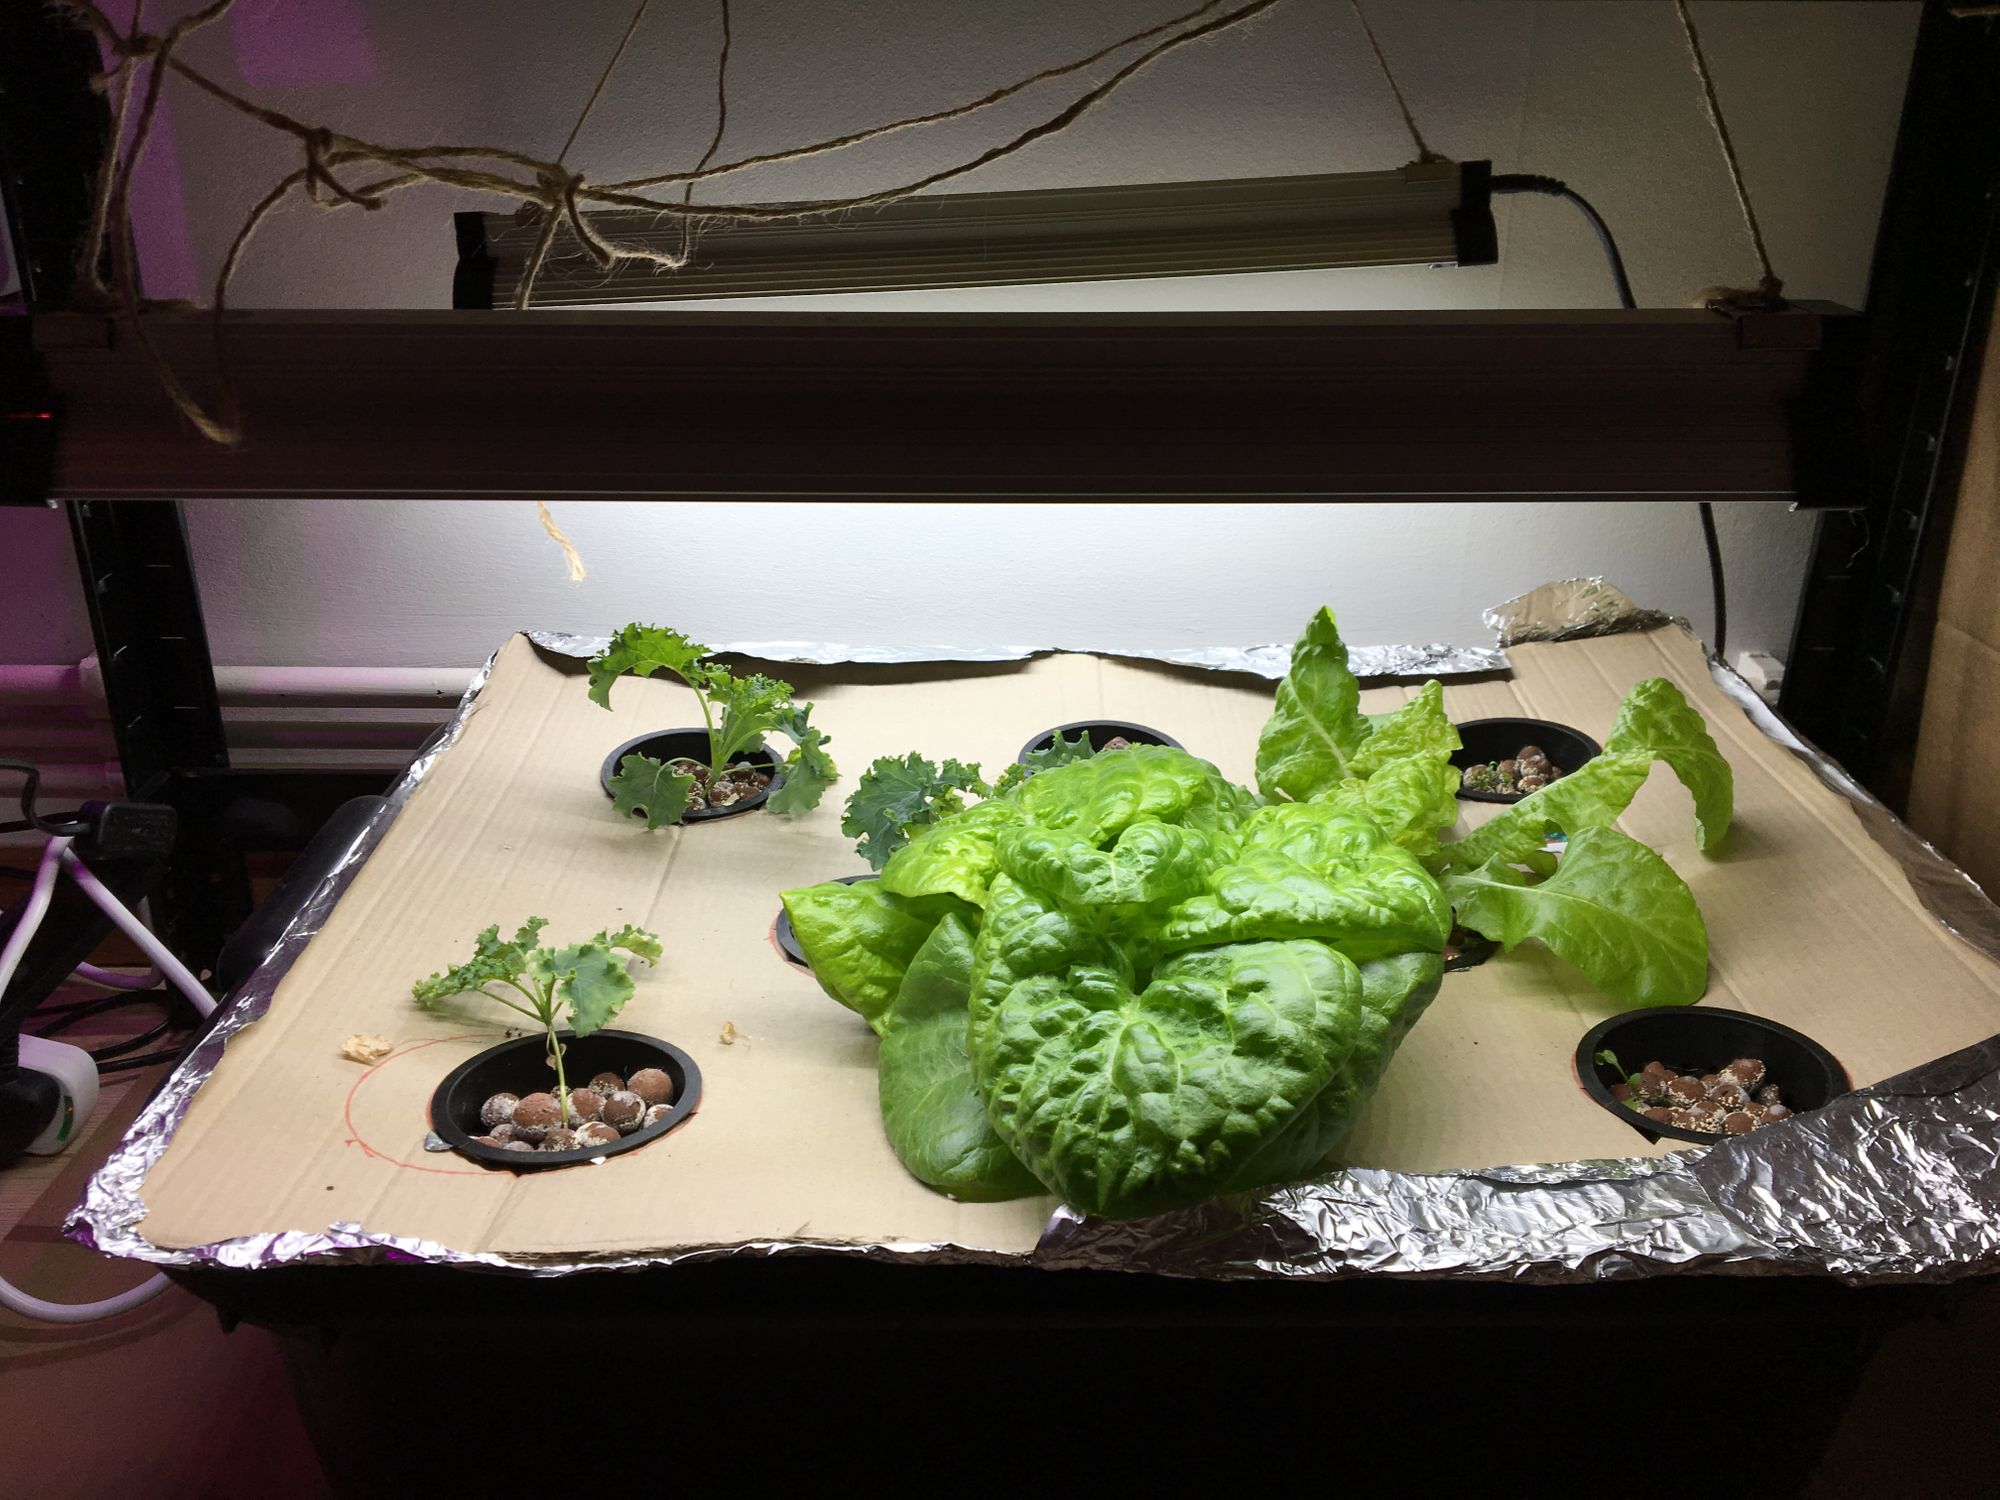
Once you’ve chosen a reservoir, you have to create a top for the reservoir that will hold the net pots that will contain the plants. A net pot is basically a a pot that, instead of being solid walled, is more of a rigid plastic net. They are standard for all types of hydroponics, and you can find them online or in your local hydroponics shop. Most tops that I’ve seen for the Kratky method are made from. styrofoam - I didn’t have any lying around, but I did have some cardboard, so I used that (I covered the underside in foil to semi protect it from moisture - not sure if it really did that though :P). A top is basically any covering for your basin that has holes in it for your net pots. If your using one basin per plant, your top will have 1 hole. One final thing to consider when building your basin is light - you don’t want any light getting into your basin, otherwise, algae will grow and you’ll be at risk of losing your crop! Don’t let this happen to you - use opaque materials for your top & your basin and prevent algae.
Once everything is set up, you need to create your nutrient solution, which is really just ph balanced water with some nutrients added. I bought a universal formula hydroponics solution from the internet along with a ph meter and acid & base, and created 40L of solution in about 10 minutes. Two weeks before I made the solution, I started sprouting my seedlings in rock wool, a kind of spun rock medium for sprouting seedlings. I kept the seedlings in a plastic tupperware container and two of my three plant types came out great - the kale and the lettuce. I made my first mistake here - once the lettuce and kale had sprouted their real leaves, I put all of my seedlings in the hydroponics basin, including my still sprouting rocket seedlings. The rocket seedlings never grew true leaves, which I think was due to them being put in the nutrient solution before they were ready. I’m still unsure though.
I used regular led grow lights that I got from a hydroponics store, that were suited to my non flowering plants. If you are growing flowering plants, you need different kinds of light, so make sure if you are getting lights (and not growing with the sun) that you get the right kind. Power costs are negligible, since the lights are LEDs.
After that, it was just a game of patience! I never made any more adjustments to my setup, and so the rest is just pictures. After 4 weeks in the nutrients one of my lettuce heads was ready to harvest, and I’ve since harvested my other lettuce as well. It was very fun! I’d recommend doing a single plant setup to start with just to get comfortable with growing plants. It turned out to be a very rewarding and delicious experience, and also a great way to learn about hydroponics and how it all works. I’d definitely recommend it to anyone interested in learning how to grow with water.

After two weeks, the kale and lettuce plants are looking good. The rocket, not so much.
Real growth!
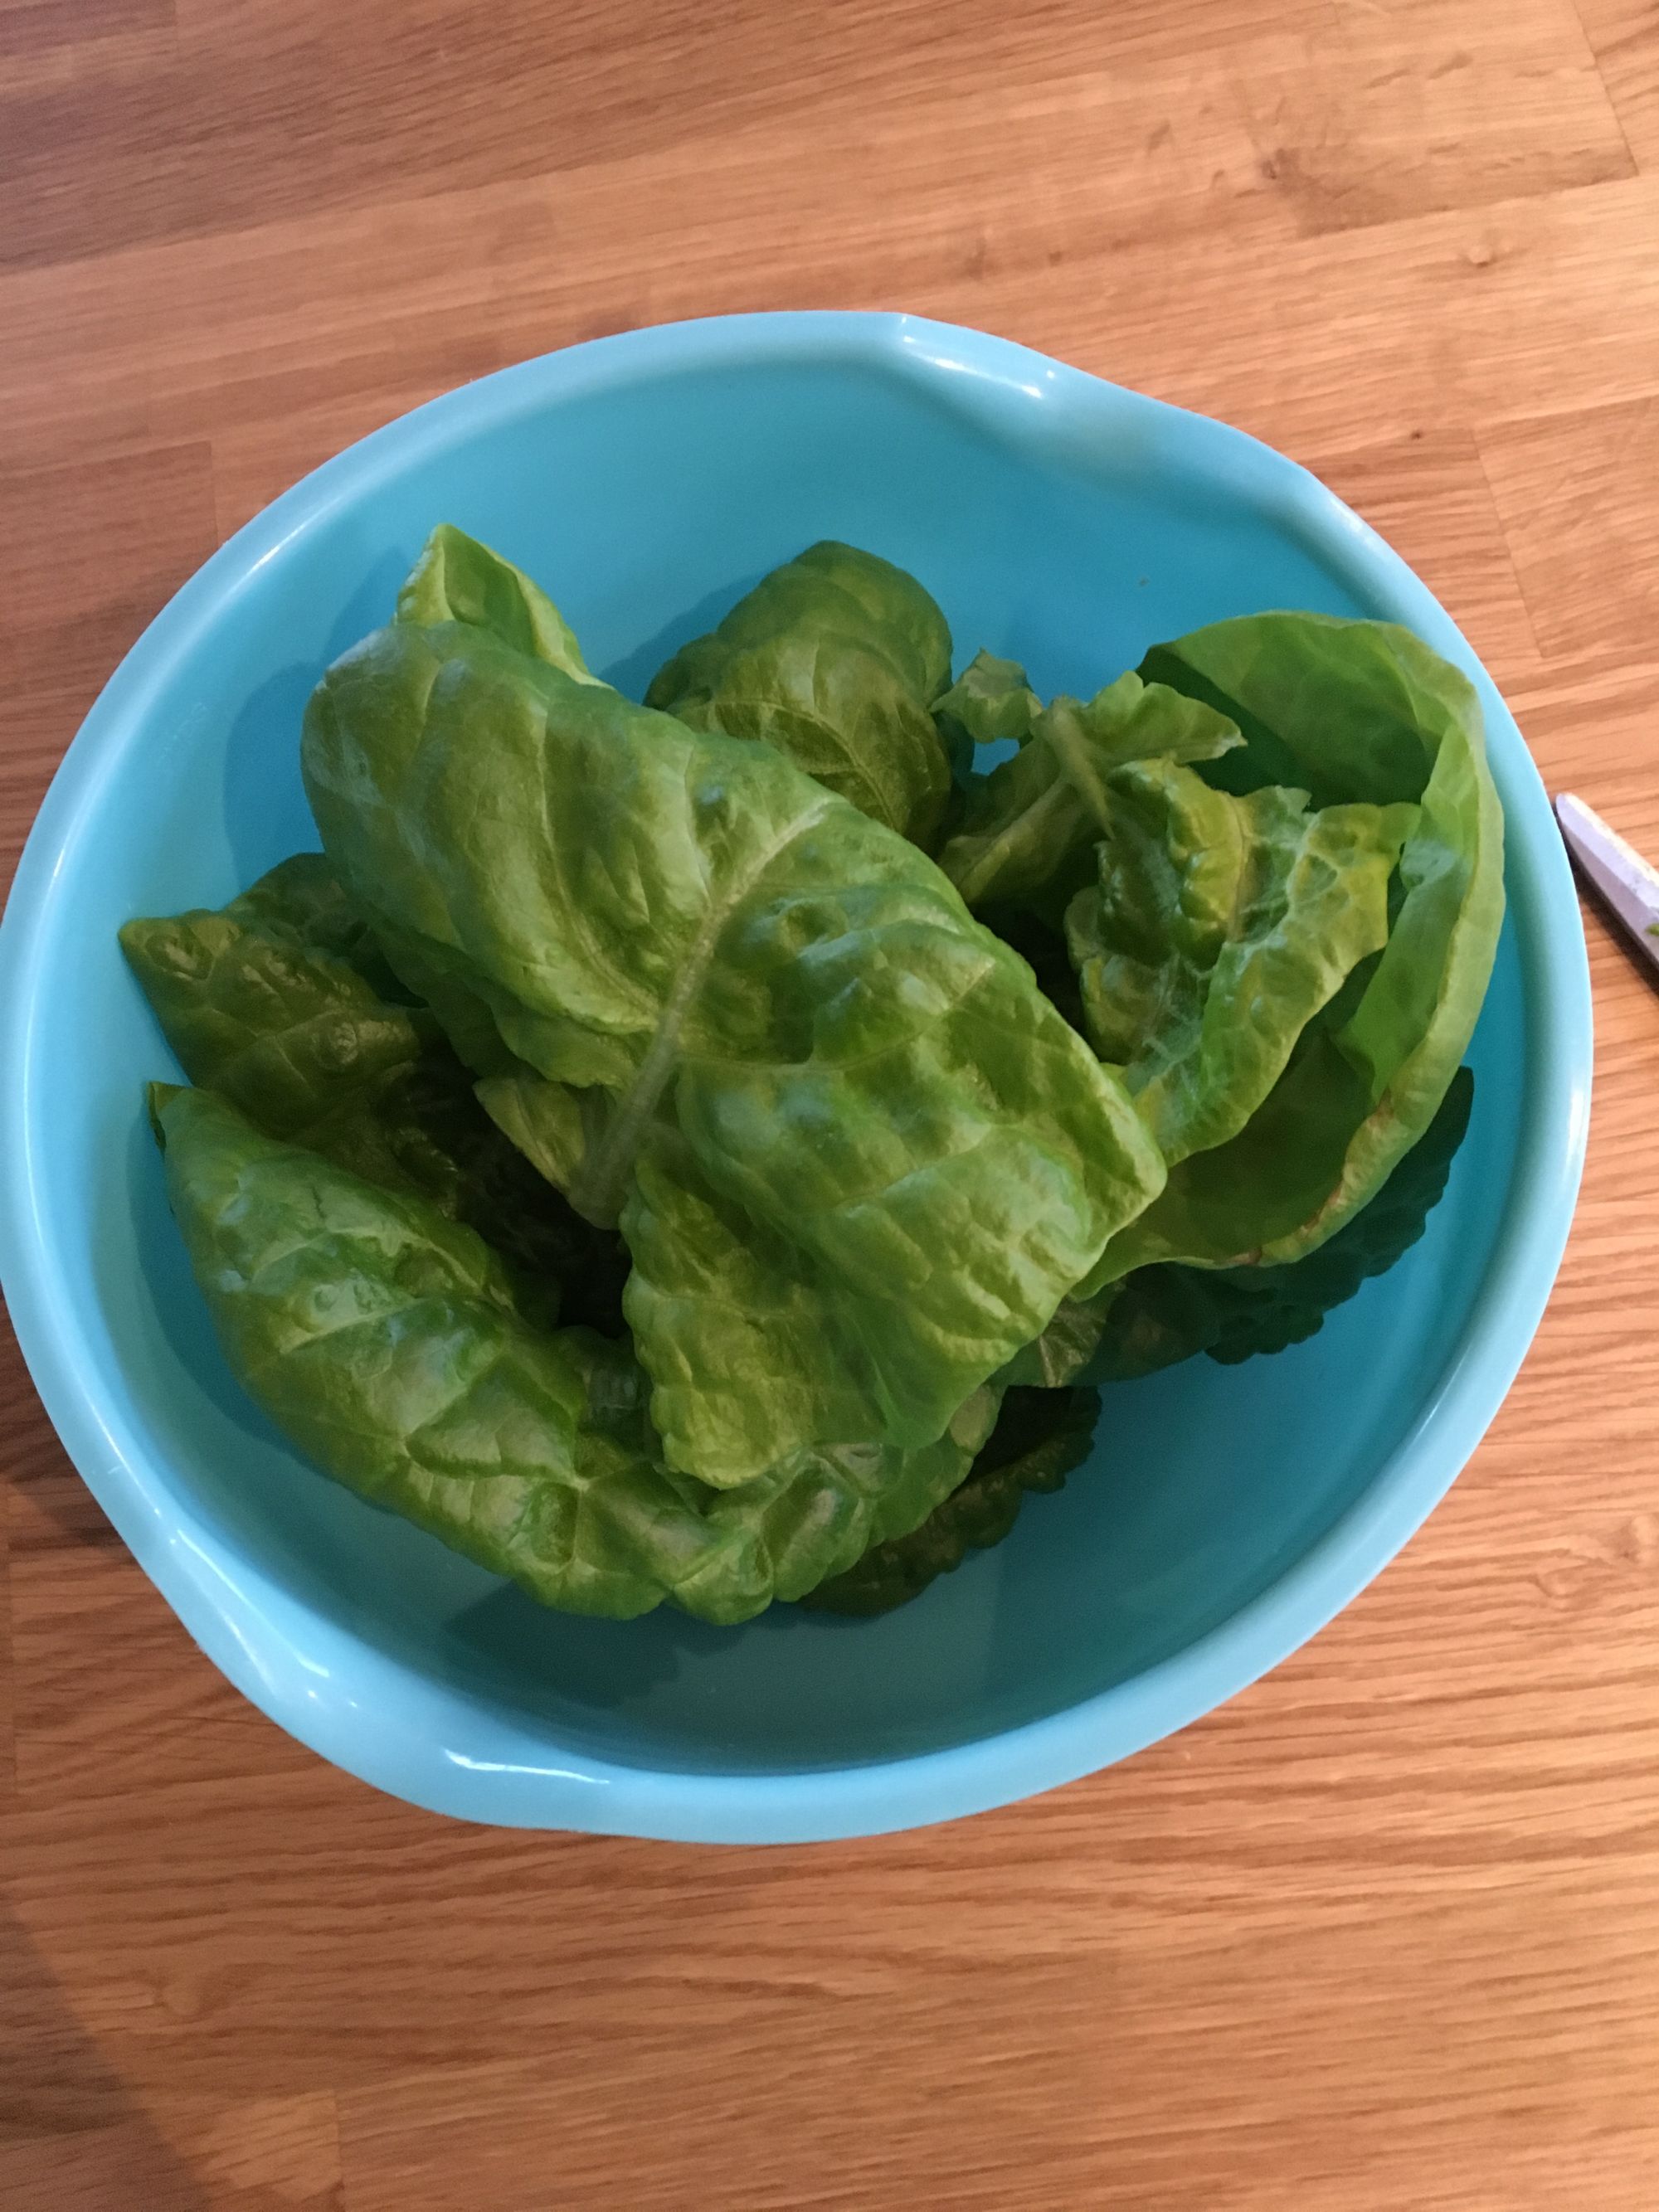
First harvest.
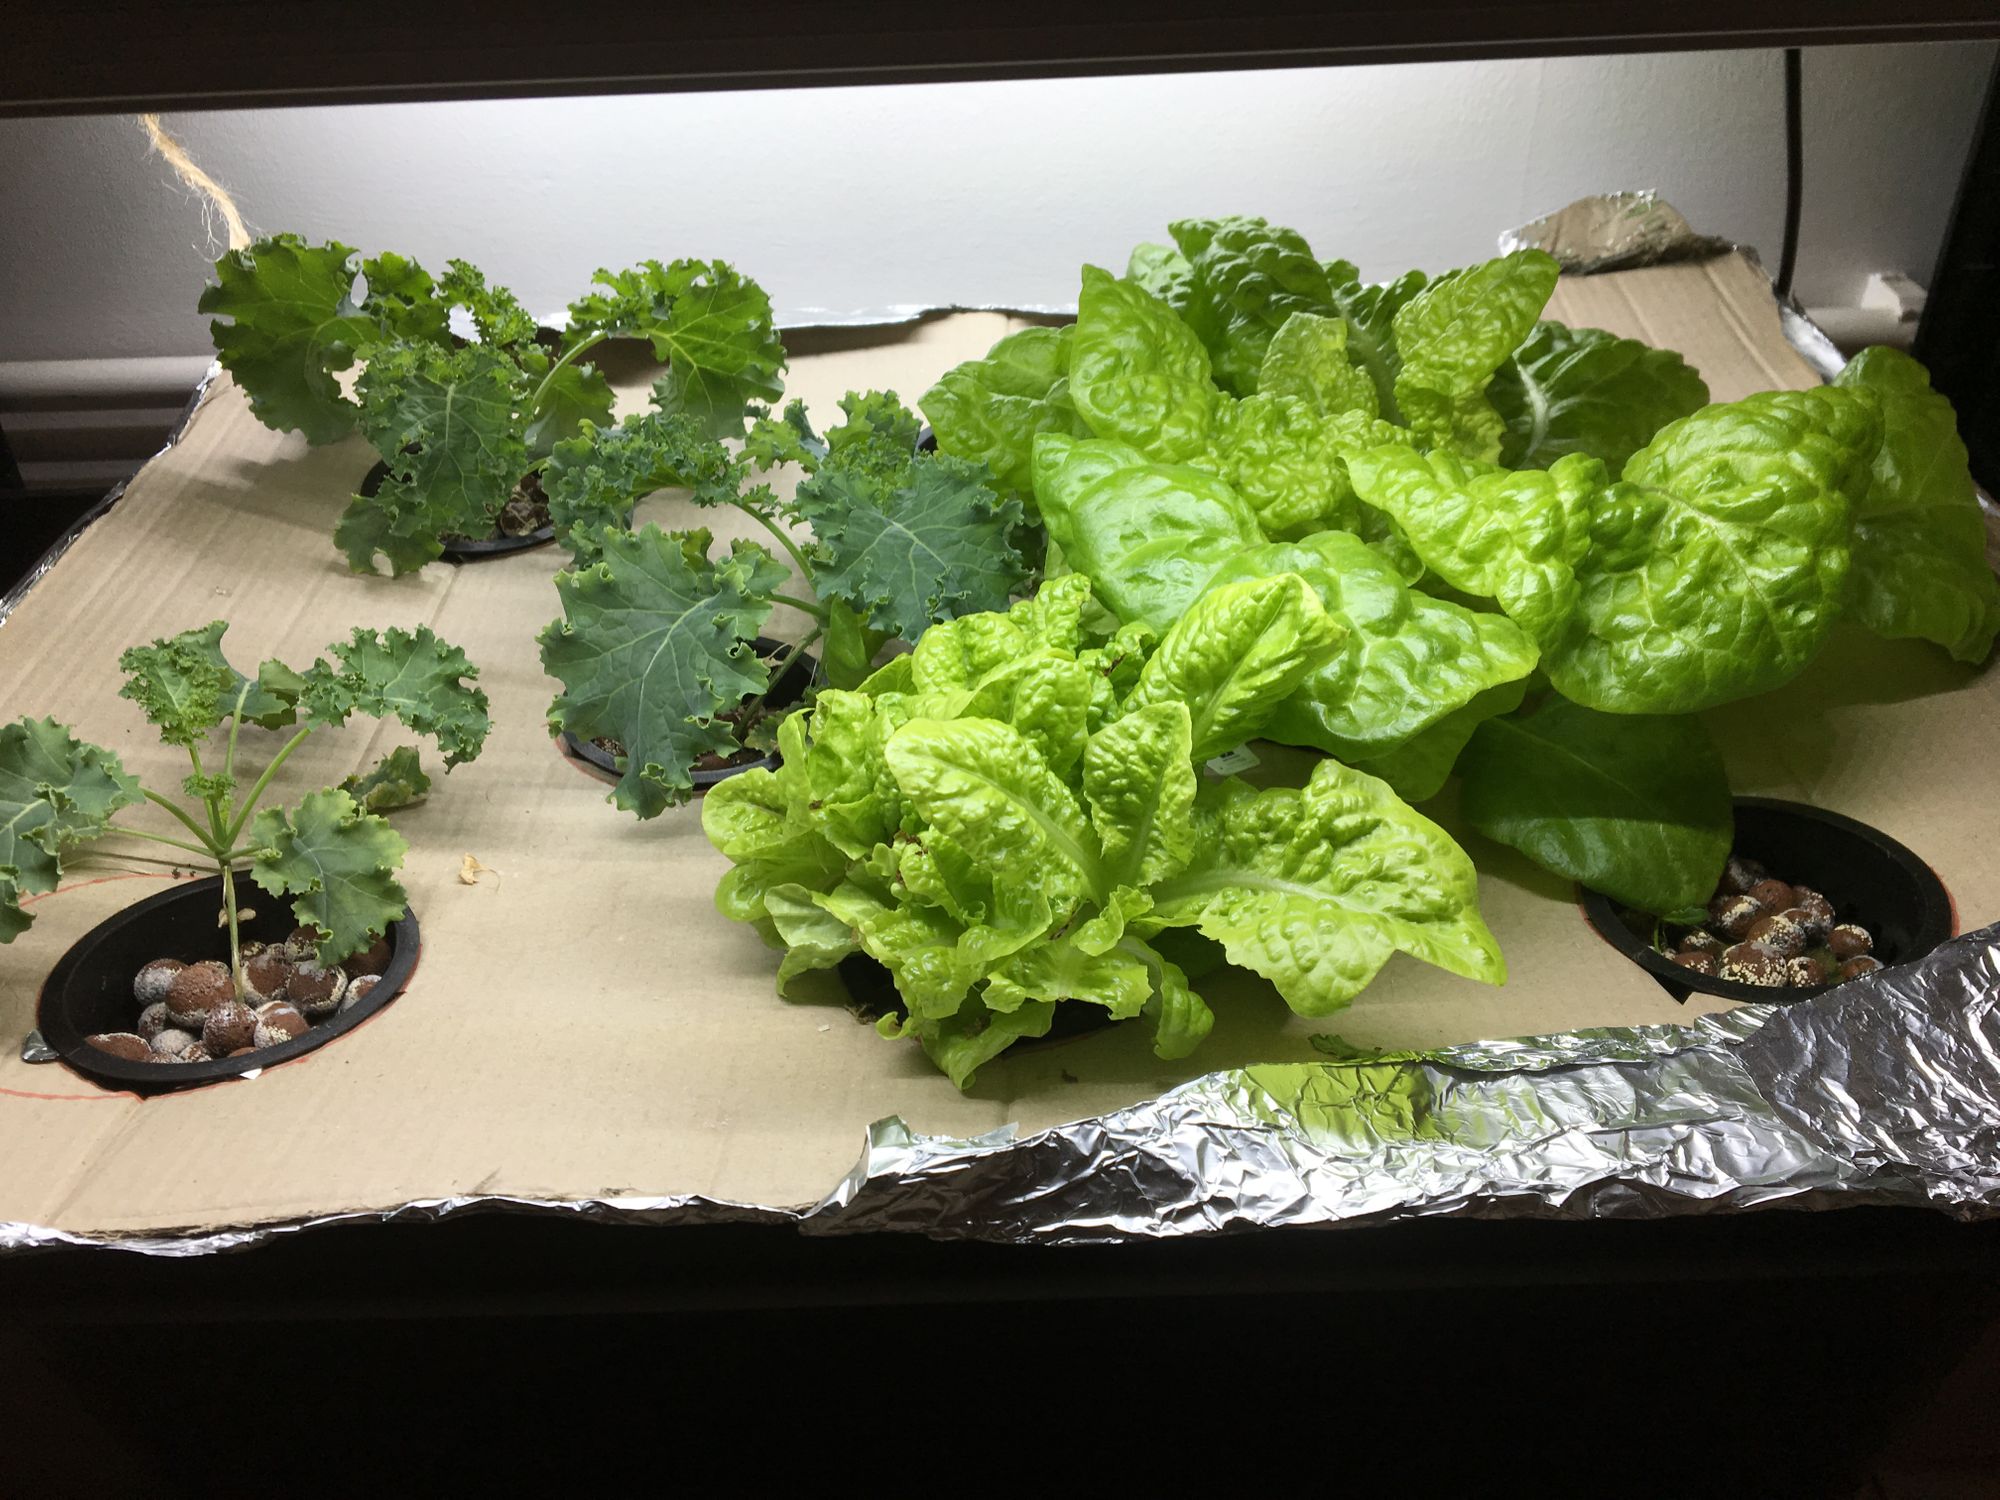
Regrowth of the first lettuce, and the second lettuce ready to harvest. The kale is also looking good.
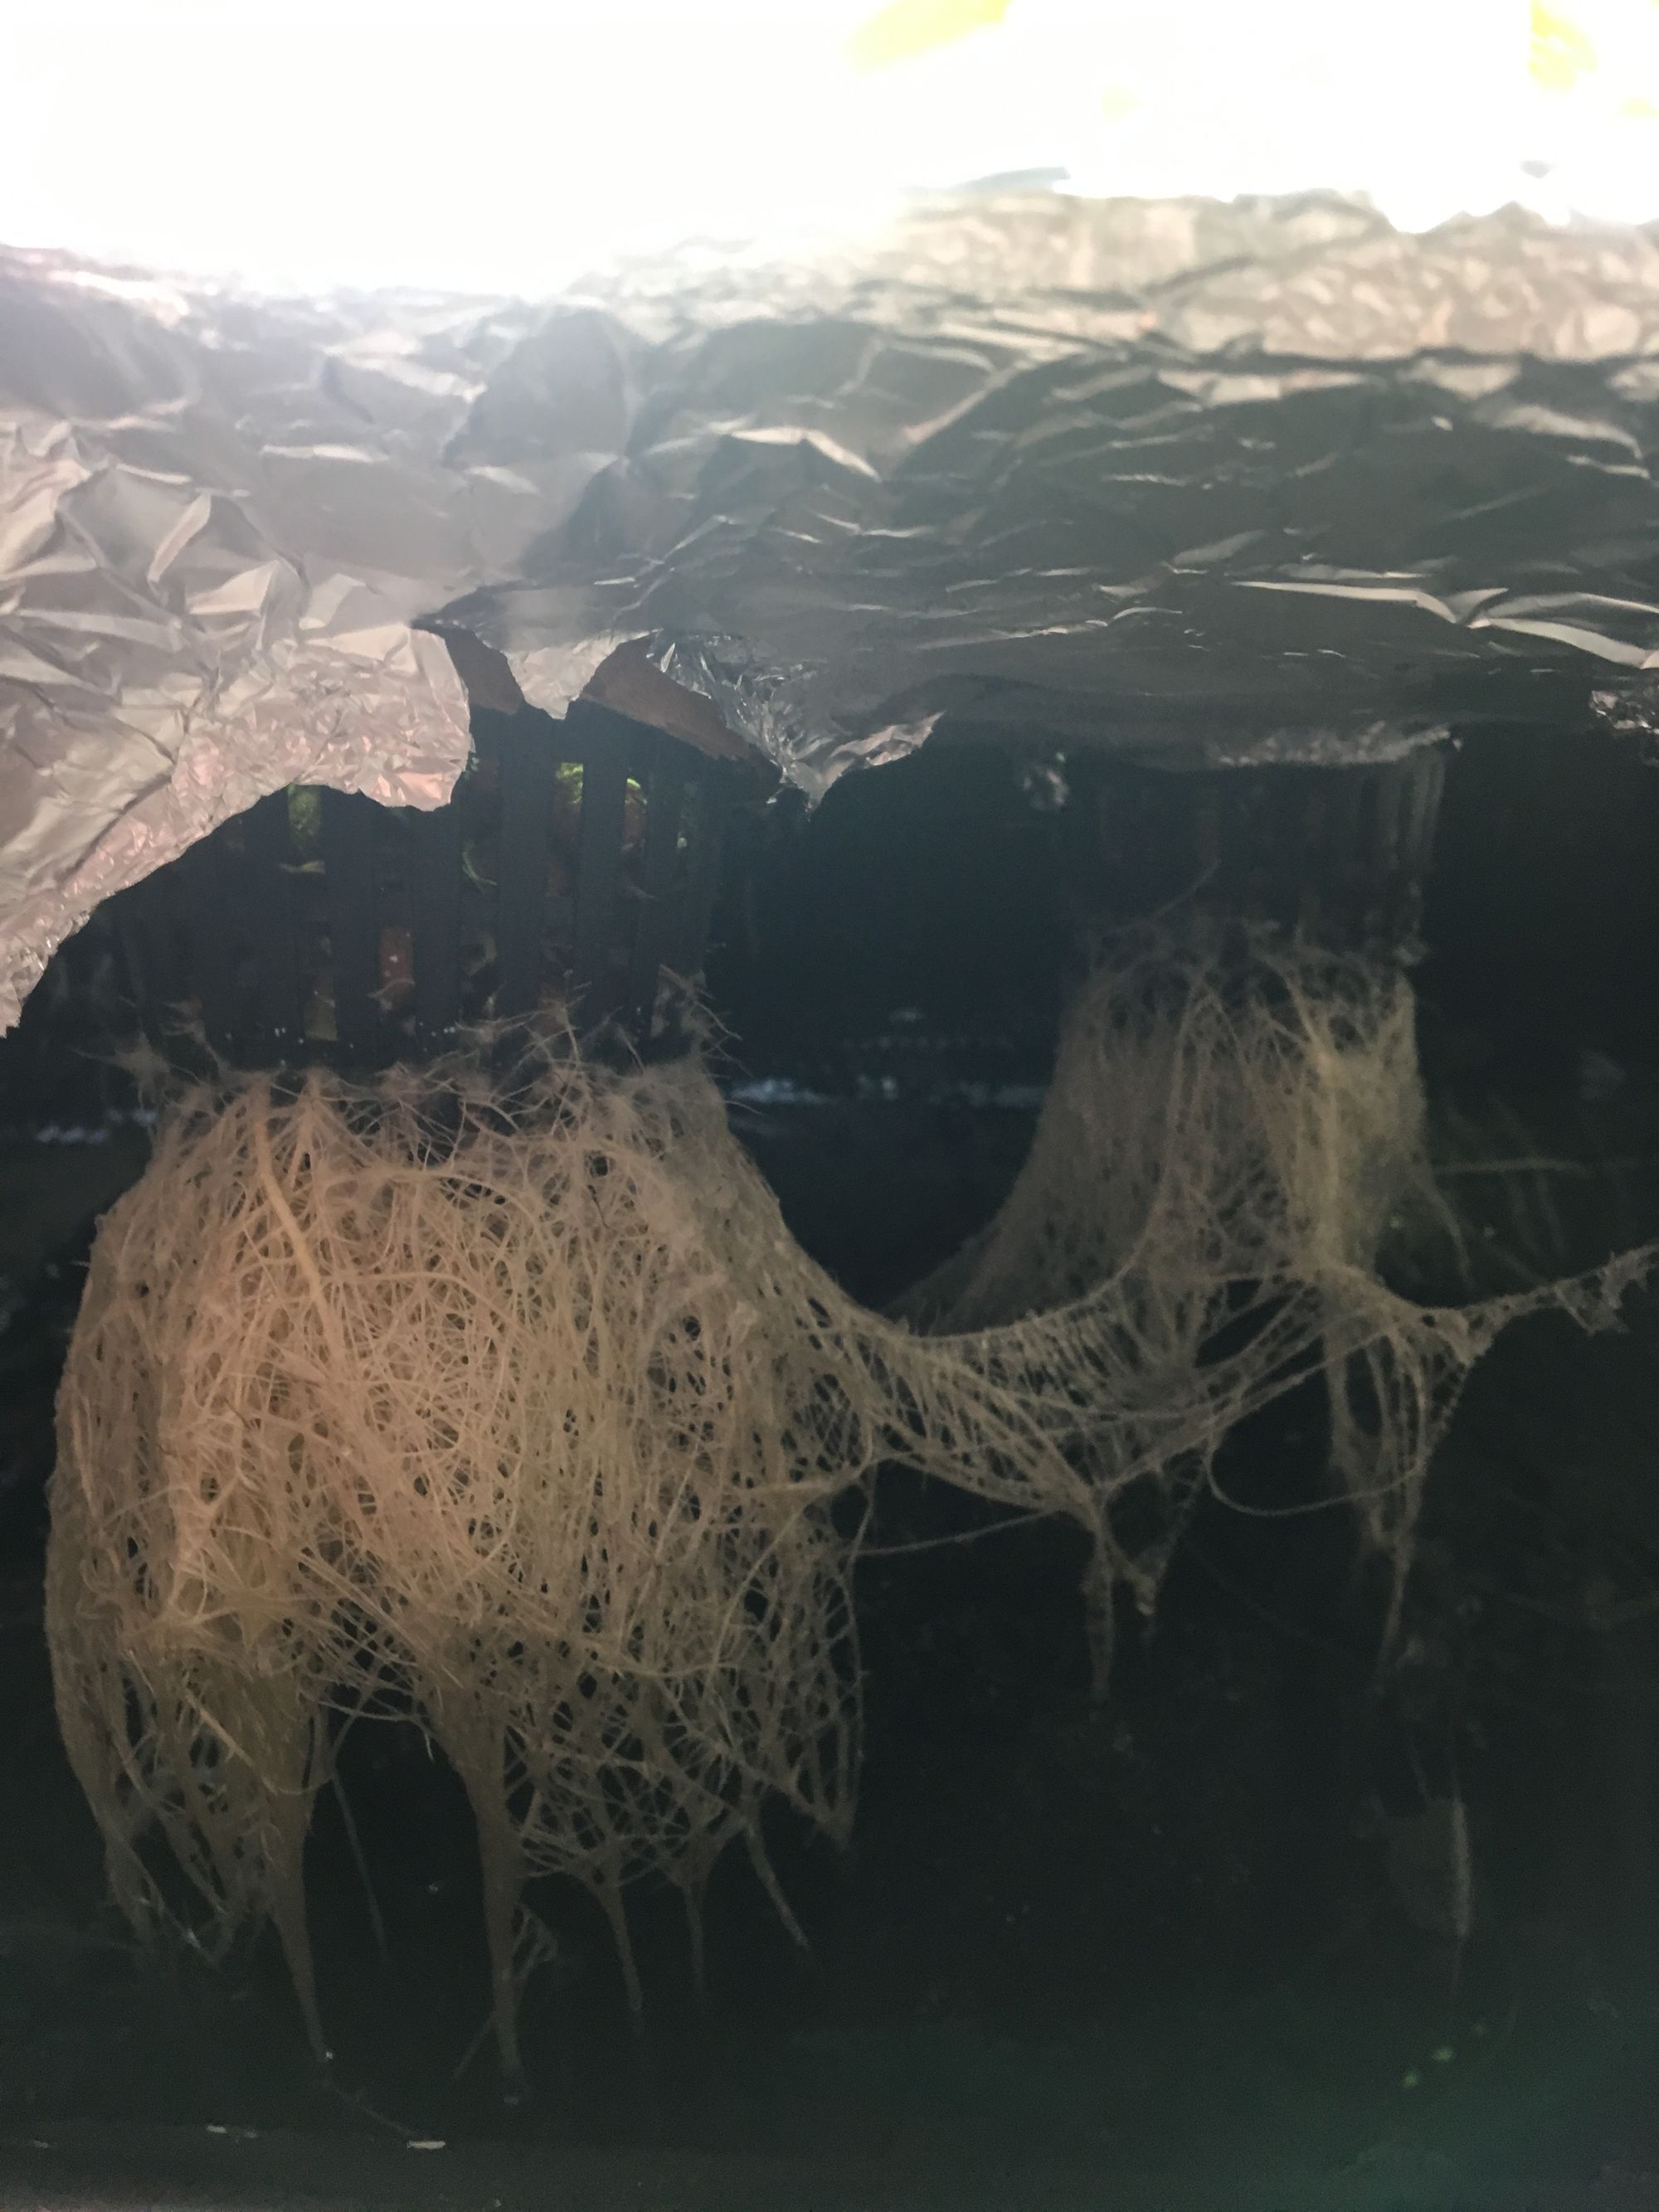
The roots! Roots are always fun to look at, as you get to see them in a way you’d never get to if they were growing in dirt.